Step-by-Step Guide: How to Properly Install a V-Part Wig
I’m going to show you exactly how to install a V part wig like a pro. In fact, this is the same step-by-step process that celebrity hairstylists use to create flawless, natural-looking hairstyles for their A-list clients.
Don’t worry, it’s super easy and I’ll walk you through it step by step. You don’t need to be a hair guru or have years of experience to nail this technique. So if you’re ready to transform your look with a V part wig that blends seamlessly with your natural hair, you’ll love this guide.
/*! elementor – v3.22.0 – 17-06-2024 */
.elementor-heading-title{padding:0;margin:0;line-height:1}.elementor-widget-heading .elementor-heading-title[class*=elementor-size-]>a{color:inherit;font-size:inherit;line-height:inherit}.elementor-widget-heading .elementor-heading-title.elementor-size-small{font-size:15px}.elementor-widget-heading .elementor-heading-title.elementor-size-medium{font-size:19px}.elementor-widget-heading .elementor-heading-title.elementor-size-large{font-size:29px}.elementor-widget-heading .elementor-heading-title.elementor-size-xl{font-size:39px}.elementor-widget-heading .elementor-heading-title.elementor-size-xxl{font-size:59px}
V Part Wig Toolkit: 6 Must-Have Tools for Flawless Installation
- Wide-Tooth Comb: For a tangle-free, smooth application
- Edge Control or Gel: For that sleek, natural-looking hairline
- Bobby Pins: To keep your wig intact (optional, but recommended)
- Wig Grip Band: To control slippage (optional, but better if you have)
- Hair Straightener or Curling Wand: Because who doesn’t love playing with various hairstyles?
- A Mirror: We want to make sure you have the parting and hair strands in place.
Don’t stress if you’re missing an item or two. The good thing about V part wigs is they are versatile. Start with what you have and upgrade your toolkit as you go.
Easy-to-Follow Steps on V Part Wig Installation
Now that you have the right tools, you’re ready to transform your look in minutes. Let’s get started with the step-by-step tutorial on how to install a V part wig.
#1: Wash, Detangle, and Prep Your Natural Hair
Prepping your natural hair before installing a wig is a must. You would want to create the perfect foundation for your V part wigs.
- First things first, let’s get your hair squeaky clean. Hop in the shower and give your hair a good wash with a gentle shampoo.
- Follow up with a nice conditioner to keep your locks soft.
- Once you’re out, grab your favorite detangling tool and gently work out any knots. Take your time here—no need to rush! You would want to start with smooth, knot-free hair.
- Part your hair and start creating cornrows. Cornrows are like tiny braids that lie flat against your scalp.
- Don’t forget to leave a small section of hair out at the front. This is for the “V” in your V part wig!
/*! elementor – v3.22.0 – 17-06-2024 */
.elementor-widget-image{text-align:center}.elementor-widget-image a{display:inline-block}.elementor-widget-image a img[src$=”.svg”]{width:48px}.elementor-widget-image img{vertical-align:middle;display:inline-block} 
#2: Prepare the Pre-installation Essentials
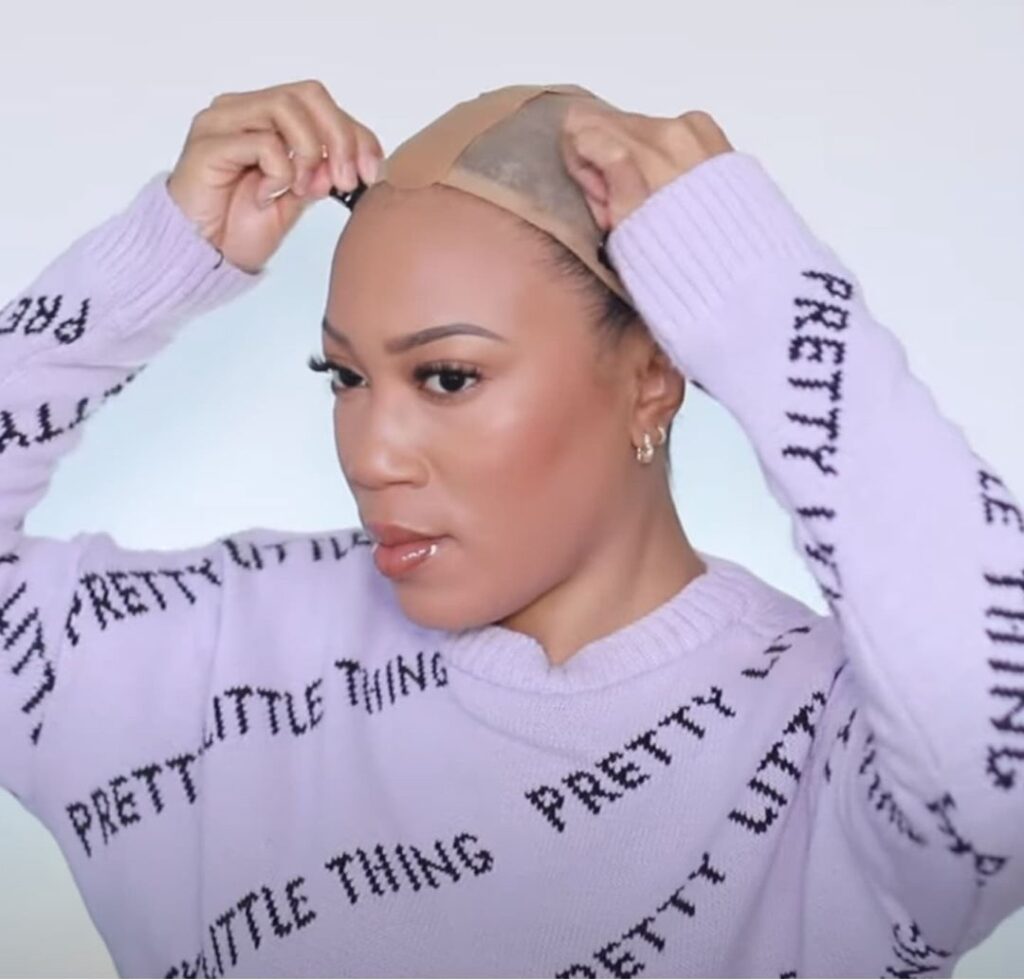
Think of the wig cap like the canvas for a painting. It gives you a nice, smooth surface to work with, which will make your wig look even better.
- Find a wig cap that matches your skin tone. This way, your wig will enhance your natural features—you won’t look “washed out” once you put on your wig.
- Put the cap on. Make sure it covers all your hair. Don’t worry if it feels a bit snug—that’s actually a good thing! Just make sure it’s not too tight—just comfortably snug.
- Smooth it out so there aren’t any bumps or lumps.
#3: Put on Your V Part Wig
Here are the most crucial steps in installing the V part wigs:
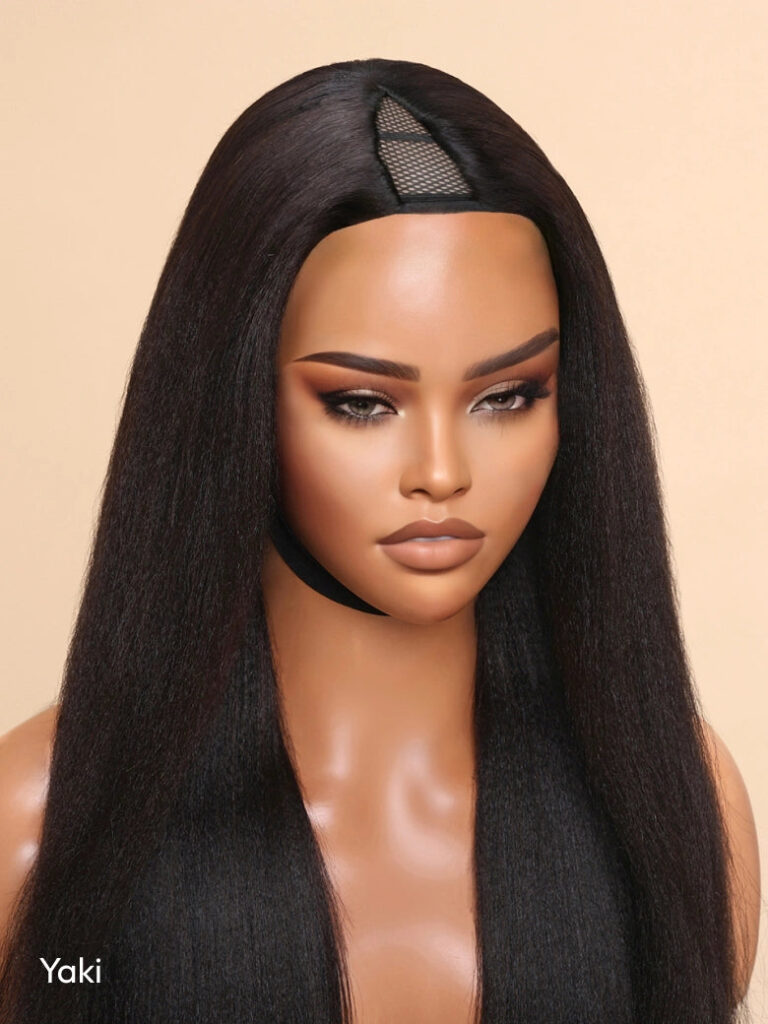
- Grab your V part wig and hold it by the edges of the V-shaped opening.
- Plop the wig on your head. Make sure the V part lines up with where you want your part to be.
- The V part should sit right on top of your own hair where you parted it earlier.
- Lock it in place. Look for the little combs attached to the wig.
- Use these combs to clip the wig securely to your hair.
- Adjust the wig so it’s sitting nicely on your head.
- Make sure it’s centered from front to back, so you don’t end up looking lopsided.
#4: Secure the Wig in Place
To make sure you wig sits prettily and nicely on your head, here are some steps to take to secure it in place:
- Adjust those straps at the back of your wig. Just like adjusting a baseball cap—you want it to fit just right. Not so tight that it gives you a headache, but snug enough that it won’t slide around.
- If you want extra security, pop in some wig clips or bobby pins to keep it in place. It’s like pinning back your bangs, but for your whole wig.
- Pull the rest of the wig down over your head. Make sure it covers everything—your wig cap and all your natural hair. Then, use those adjustable straps at the back to lock it in place.
#5: Blend Your Natural Hair
Your wig and natural hair should blend seamlessly together. Here’s what you can do to make it as natural as possible:
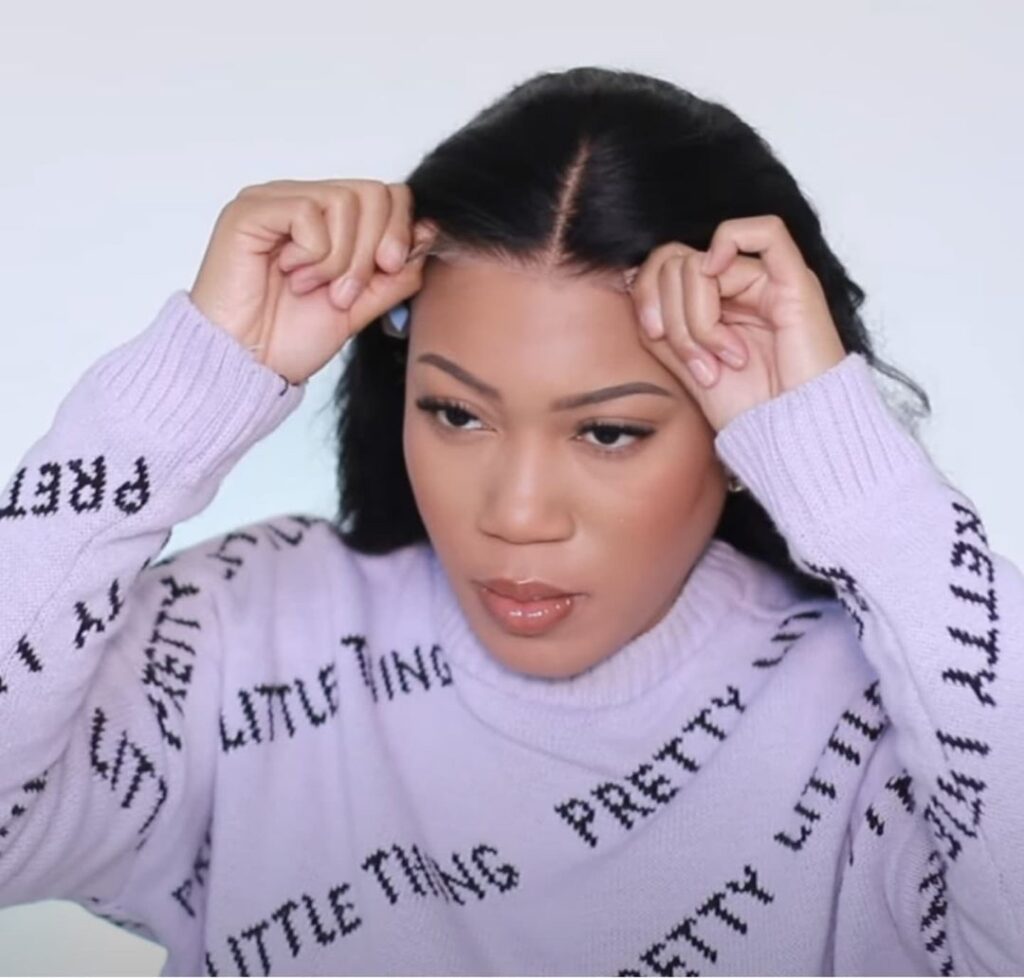
- Check the small section of your own hair that’s peeking out.
- Use a thin comb (called a rat-tail comb) to split your natural hair into two tiny sections.
- Gently comb these sections so they mix nicely with the wig hair.
- If your wig is straight: Use a hair straightener on your natural hair.
- If your wig is curly: Use a curling wand to match the curls.
- The goal is to make your natural hair look just like the wig!
#6: Do Finishing Touches
To really polish your look:
- Grab some edge control or hair gel.
- Style your baby hairs (those fine hairs around your forehead) for a sleek finish.
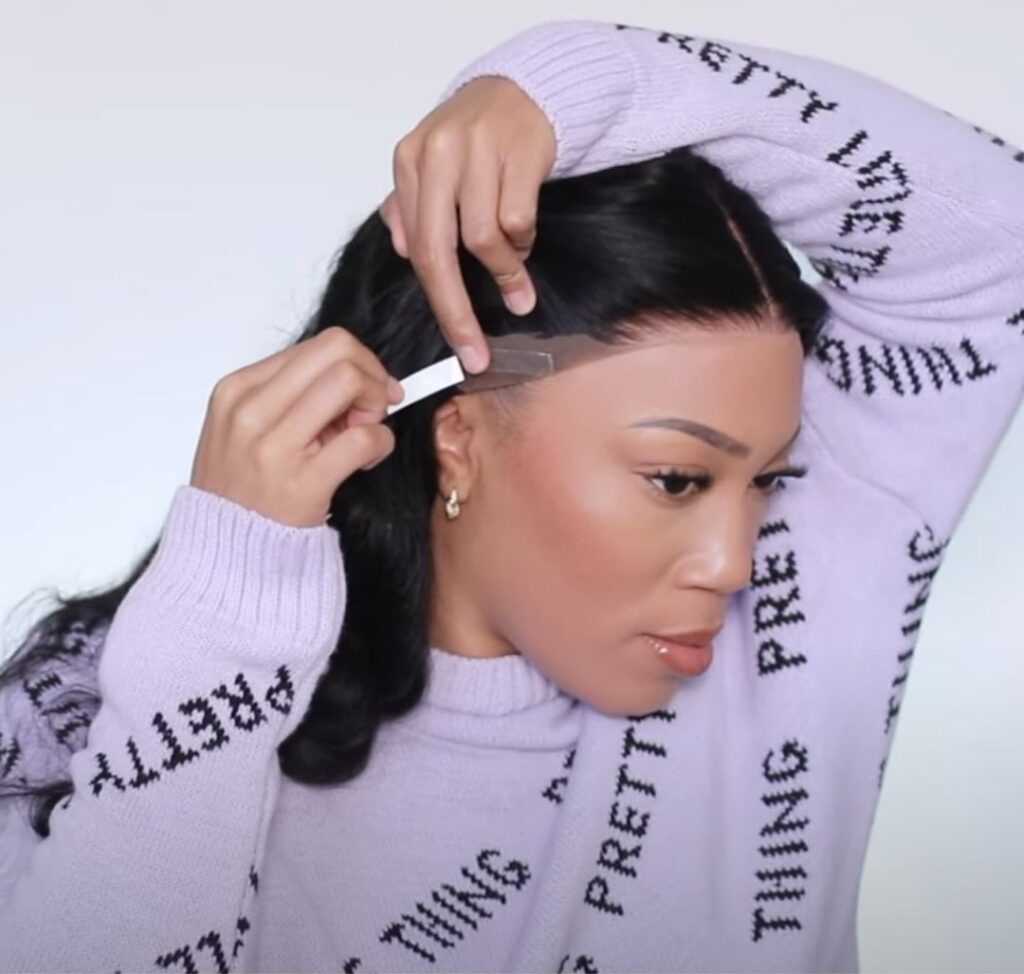

Additional Tips in Achieving the Natural Look in Your V Part Wig
Here are some additional (yet totally optional) steps you can take for that natural-looking V part wig:
The Bobby Pin Trick:
If your wig feels like it’s going to fall off, just grab a few pins and pop them in around the sides or where you part your hair. This will keep everything in place, so you don’t have to worry about your wig shifting throughout the day.
Try the Wig Grip Band:
Ever heard of a wig grip band? It’s like a headband that goes under your wig. It gives your wig something to hold onto, so they stay put all day long. It’s might be what you’re looking for if you’ve been struggling with a wiggly wig!
Trim the Extra Laces:
Got some extra lace around the edges? No worries! Just give it a little trim to make sure it fits your face perfectly. As an extra step, use a bit of concealer or foundation. Make sure these products match your skin tone on the lace part.
Quick Tips:
- Pick a V part wig that looks like your own hair color and texture. Beme Hair has a variety of V part wig options—from Curly Coily to Yaki Straight. What’s better is it comes in different colors and lengths!
- Trim your wig if needed so it frames your face nicely.
- Avoid using heavy products that might weigh down your hair.
Conclusion
Putting on a V part wig isn’t rocket science, but it can totally transform your look if you do it right. Just follow the steps we talked about, and you’ll be rocking that natural, flawless style in no time.
A quick recap:
- Start with clean, tangle-free hair and slap on a wig cap.
- Get that wig placed just right and secure it. You don’t want it flying off in the wind!
- Blend your real hair with the wig.
- Don’t forget those finishing touches—style those baby hairs and trim any extra lace.
If you’re on the hunt for some sweet V part wigs or want to learn more tricks, check out Beme Hair. We’ve got a ton of options and some pretty cool how-to’s. So, what are you waiting for? Grab that V part wig and get started.